Your first dub
This guide takes you through a first project end to end, in five steps: import a video → edit the rythmo band → translate (optional) → dub (your own voice or an AI voice) → export.
Every Voxdub feature is premium (subscription at €12.99/month, no free tier). See Trial and subscription.
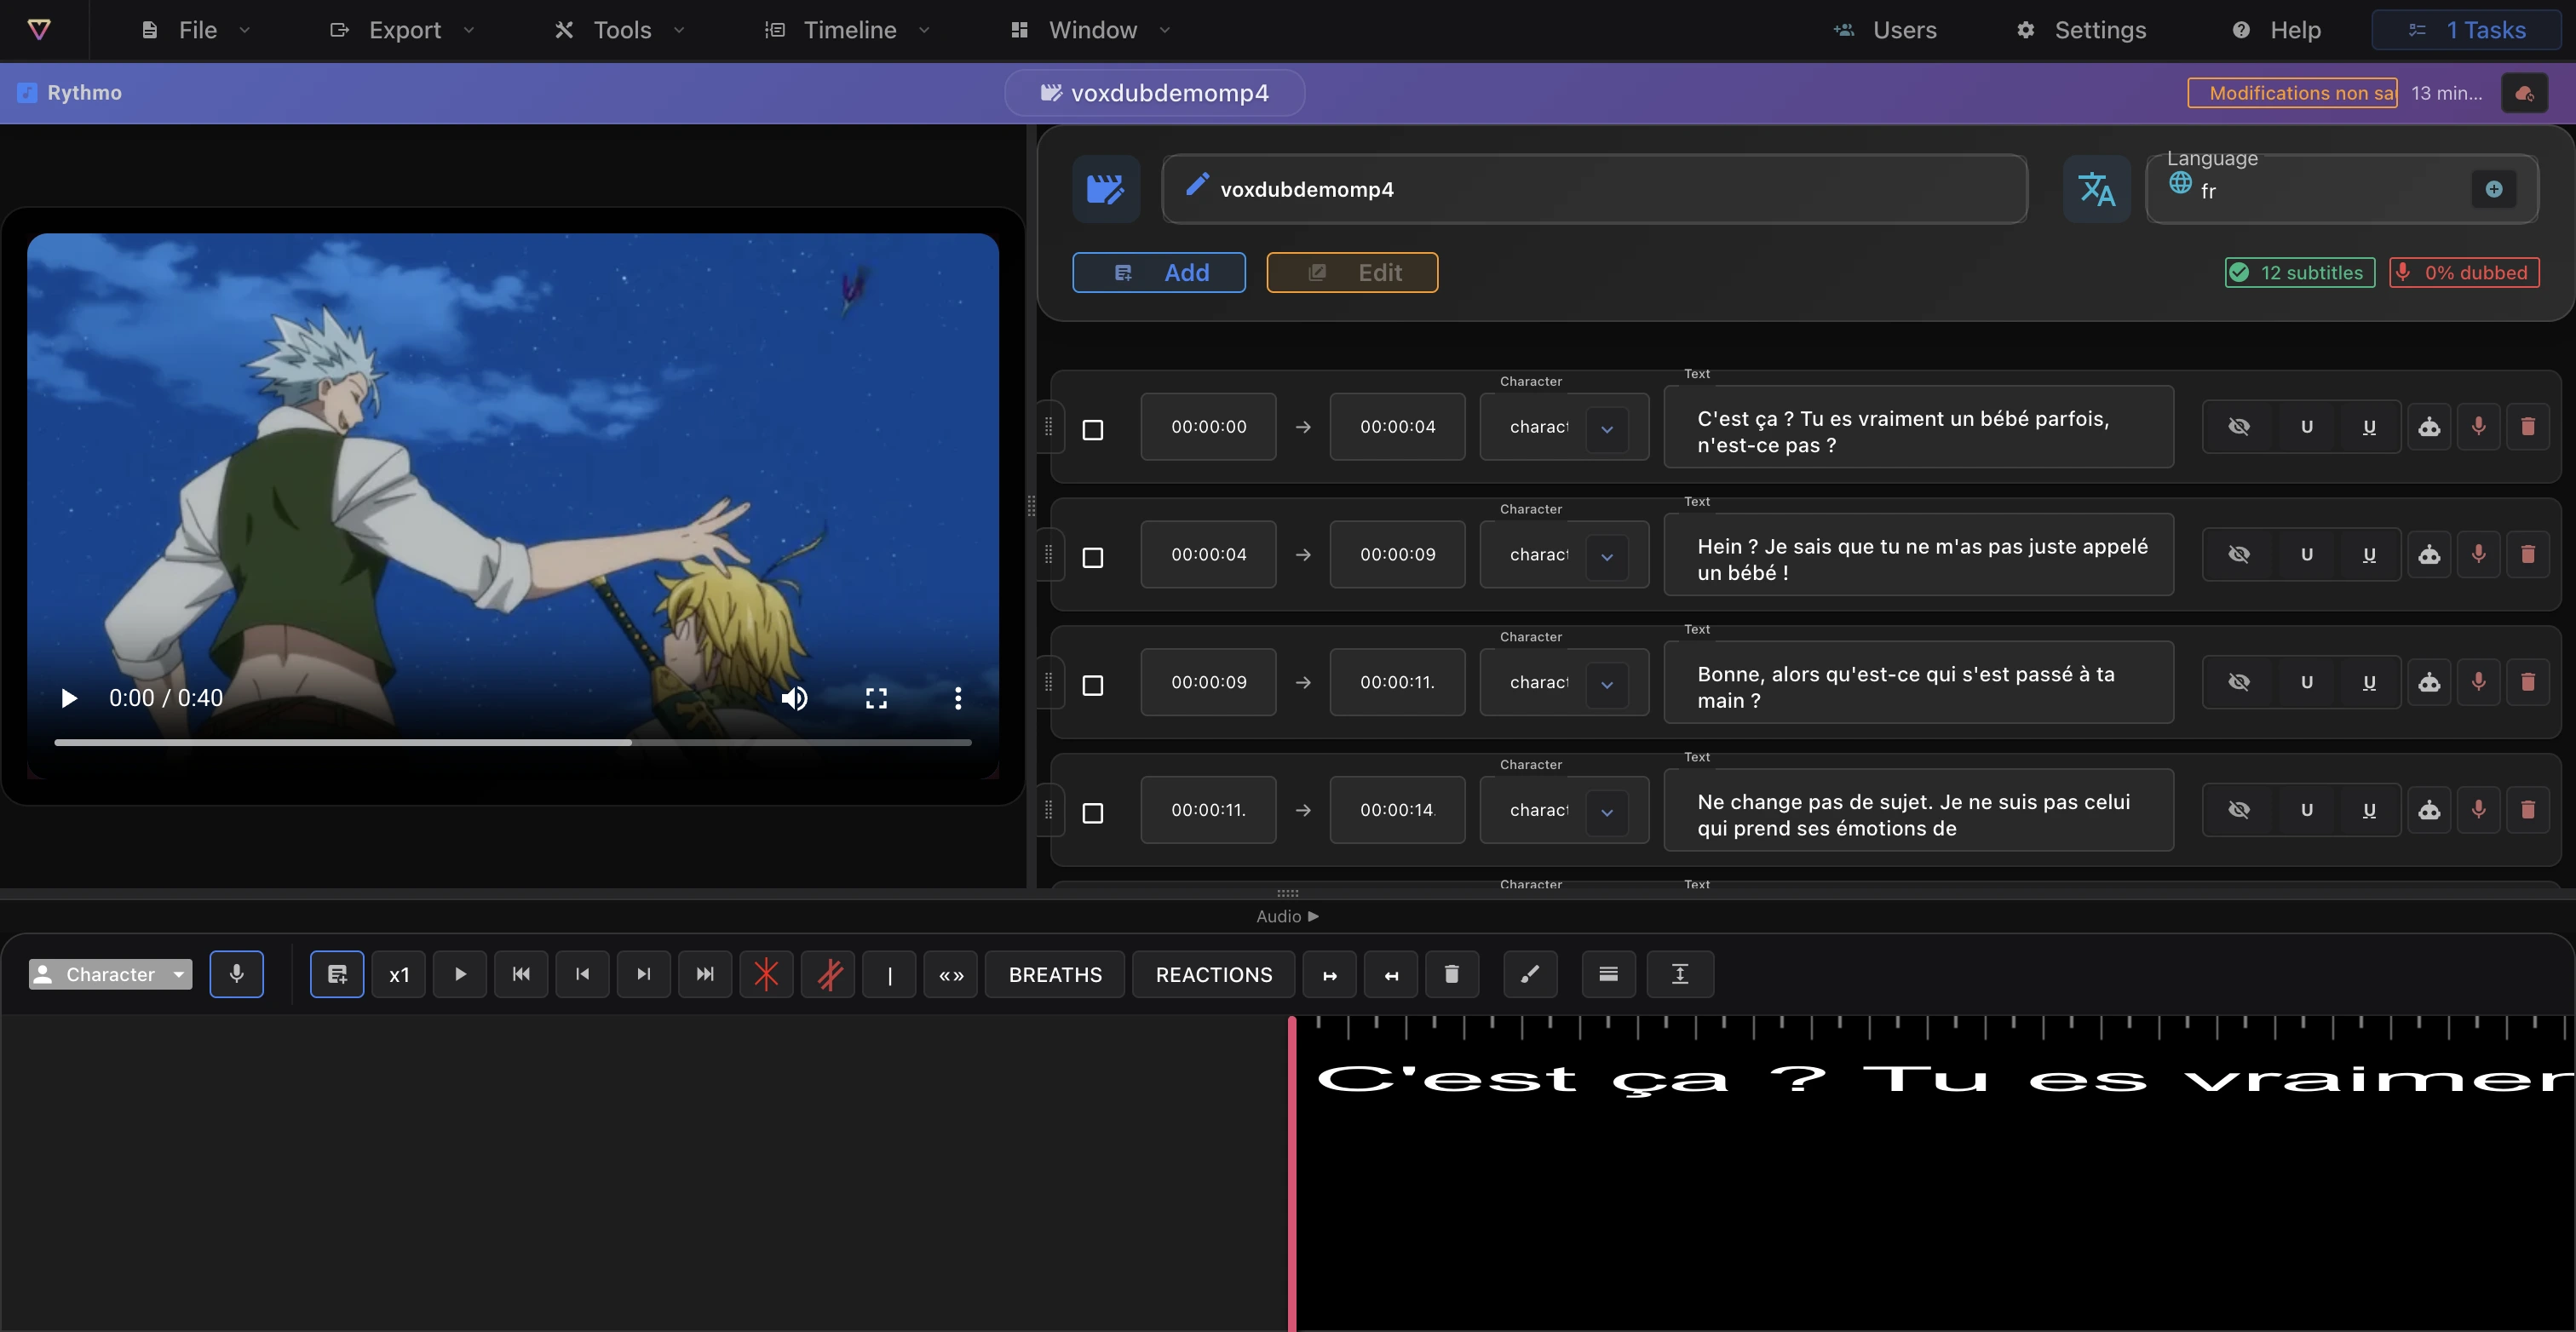
Step 1 — Import the video
From the New project screen, import a video from your computer (drag and drop, or browse). See Create and manage your projects and Import a video.
Dialogue lines aren't pre-filled: you create and edit the lines yourself on the rythmo band (next step). If you want a starting point, you can run Automatic subtitles from the Tools menu to detect lines from the audio.
Step 2 — Edit the rythmo band
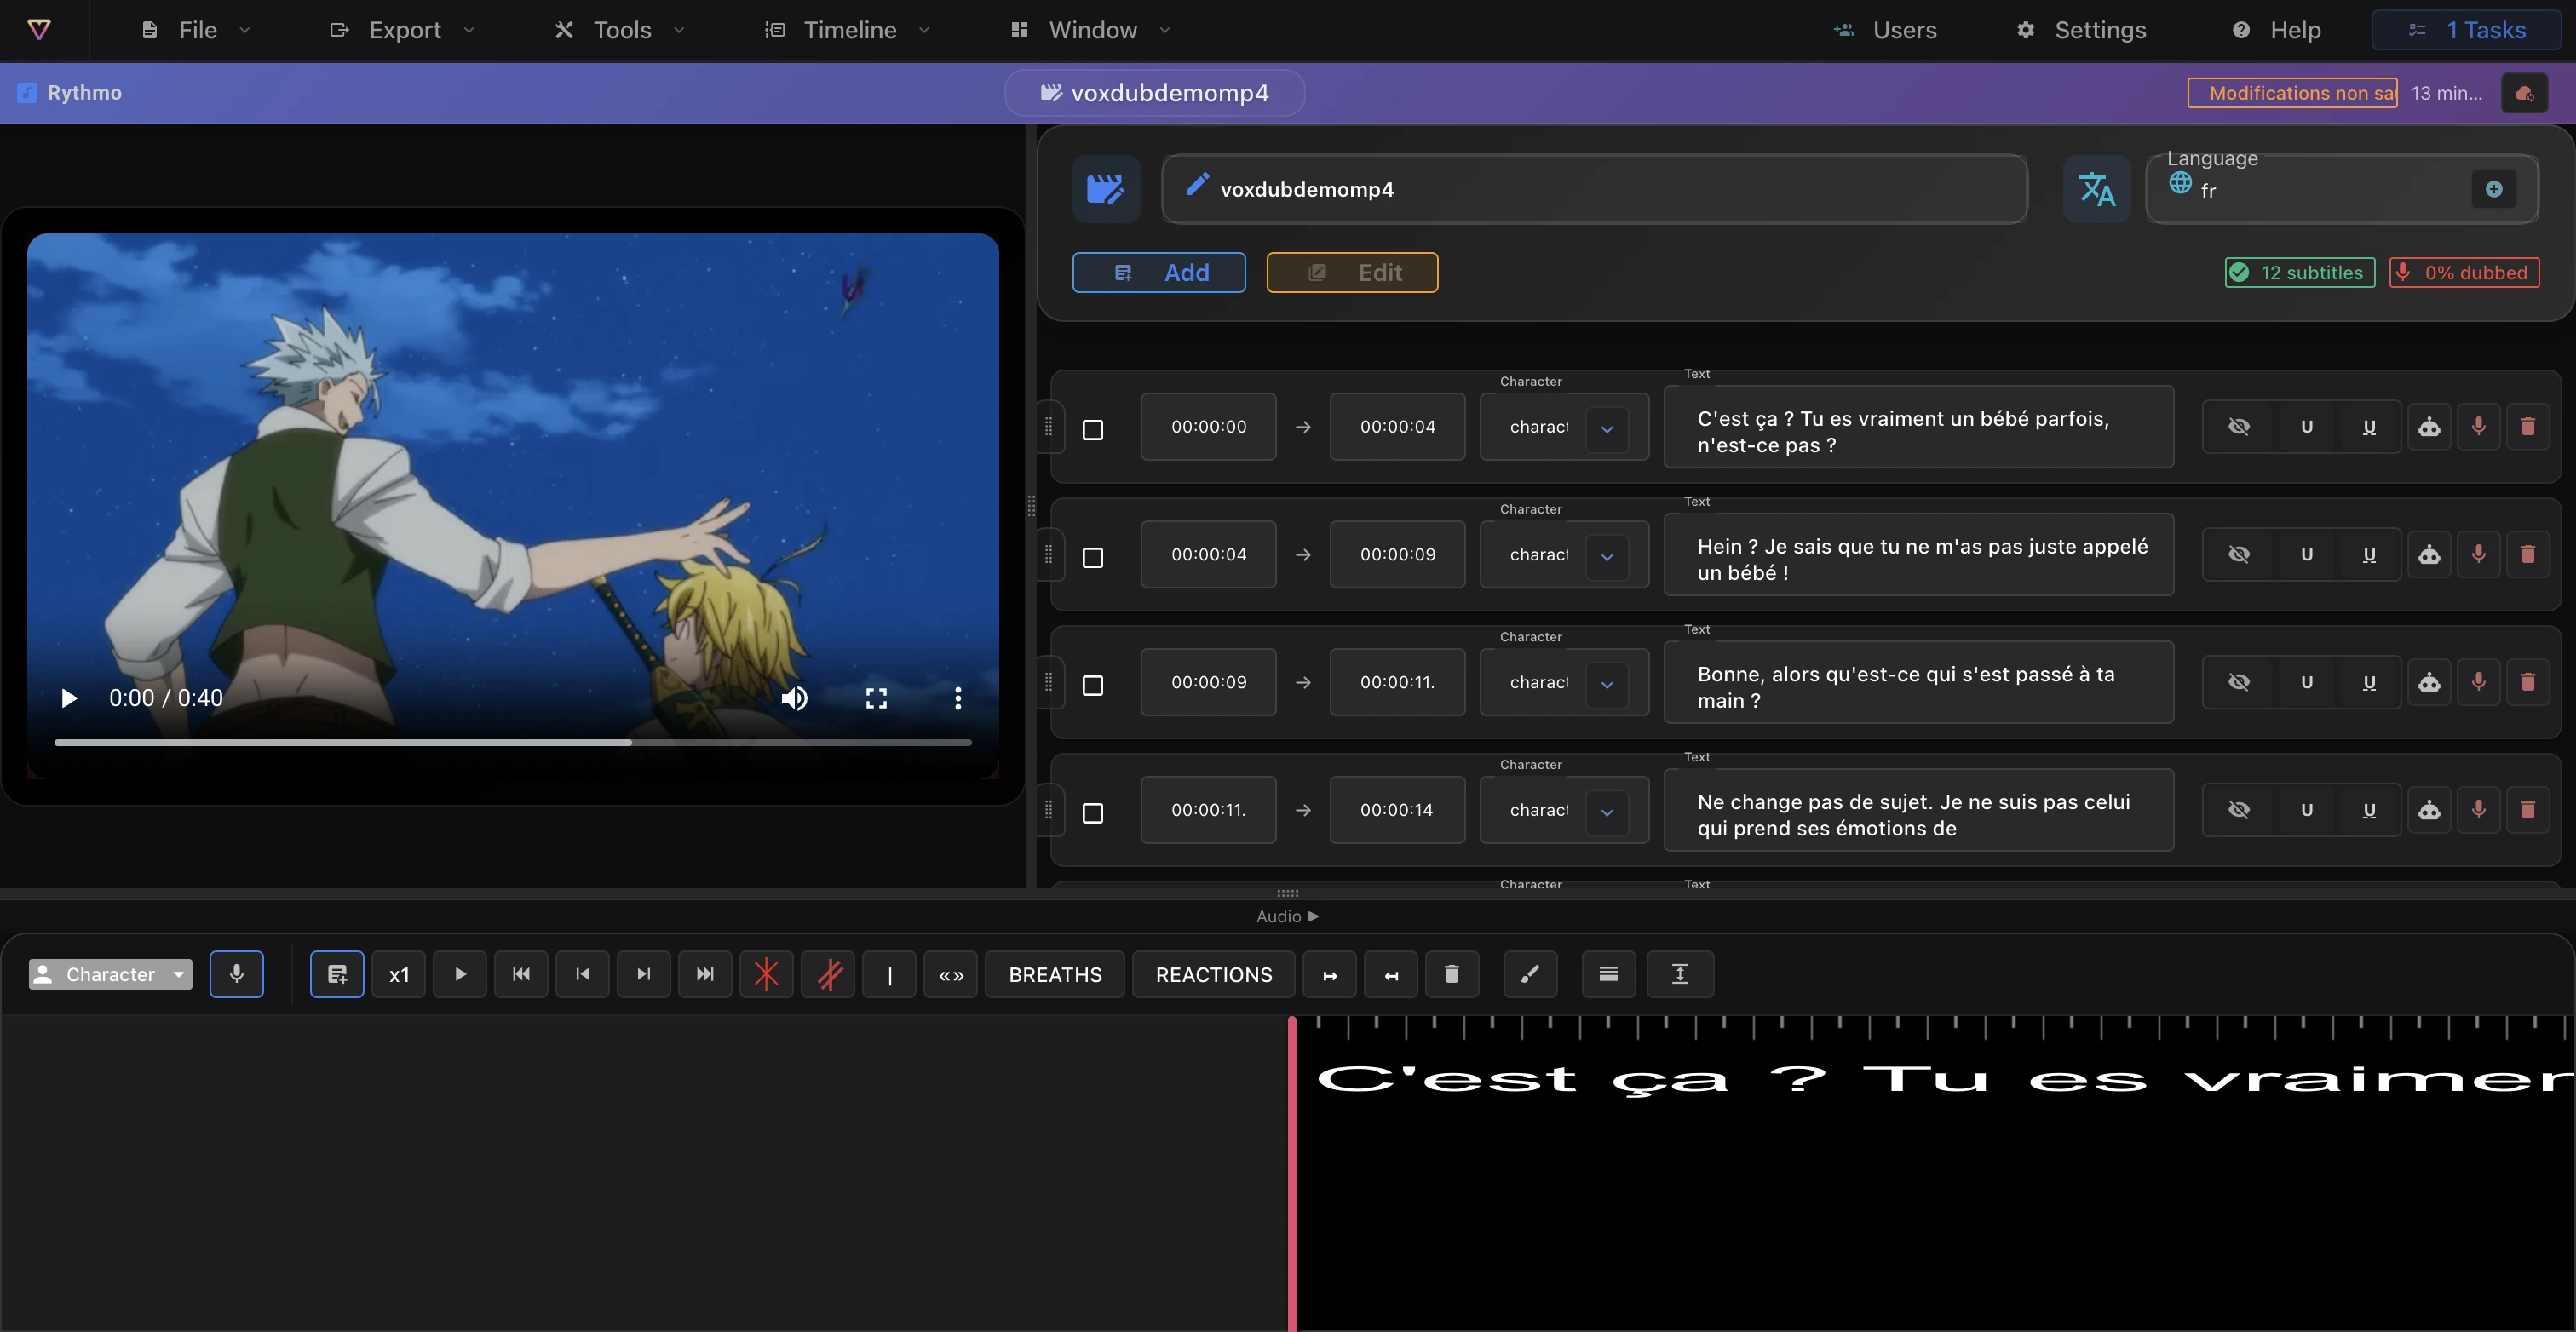
Each line sits on the rythmo band, synced with the video. Adjust the text and timing line by line.
- Add (or ⌘ =): adds a dialogue line.
- Cut: splits the selected line at the playhead.
- Delete: switches to delete mode to remove elements.
From the script panel on the right, assign each line a character and a voice type. See Characters and The rythmo band tools.
Handy shortcuts
- Space: play / pause. ⌘ =: add a line. ⌘ K: start/stop recording. ⌘ S: save. ⌘ Z: undo.
- Studio mode (Display menu, Pro) hides the script panel and enlarges the video.
See Keyboard shortcuts.
Step 3 — Translate (optional)
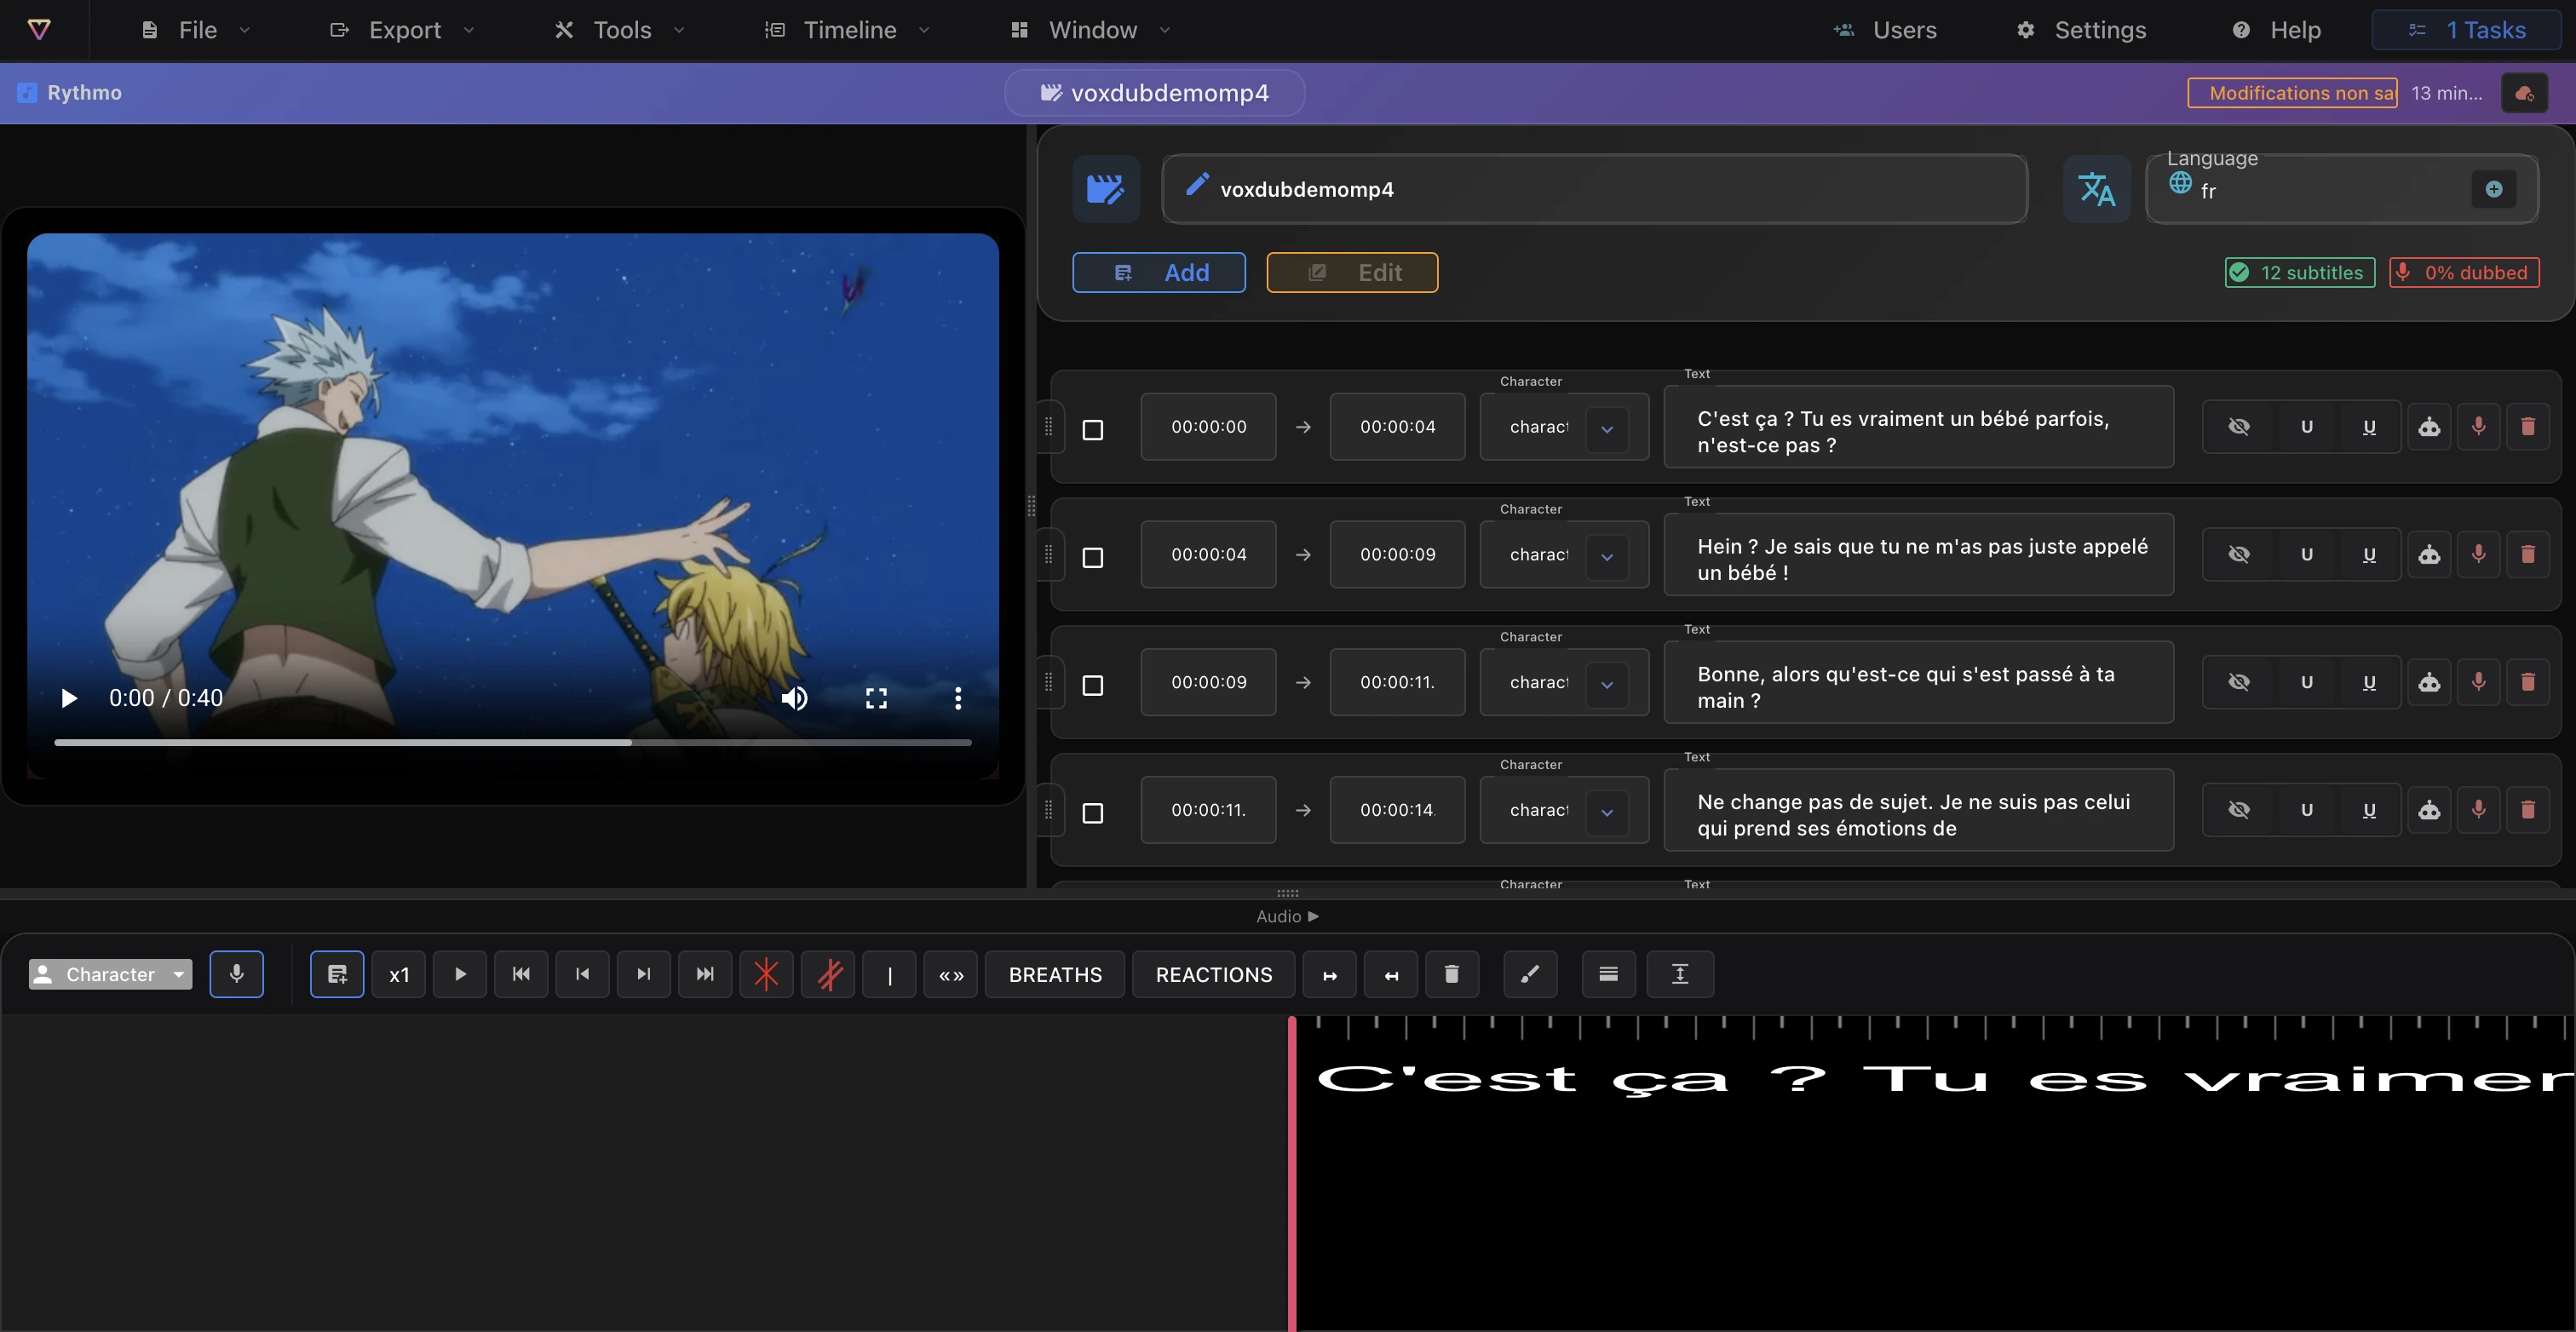
If you're dubbing into another language, use Translate subtitles in the Tools menu to translate the band before laying down the voices. See Translate a band.
Step 4 — Dub: your voice or an AI voice
Two approaches, combinable line by line:
- Record your voice: ⌘ K toggles recording on the active line. See Record your voice.
- Generate an AI voice: select a line, then run Generate AI voice from the Tools menu. It runs as a background job: the voice appears on the line once processing finishes. See Generate an AI voice.
Step 5 — Export
Export from the Export menu, in three families:
- Video: an MP4 with the rythmo band burned in.
- Subtitles: DETX, SRT, ASS or JSON. See Export subtitles and DETX.
- Audio: croisillé (call sheet) and BWF. See Export audio (croisillé).
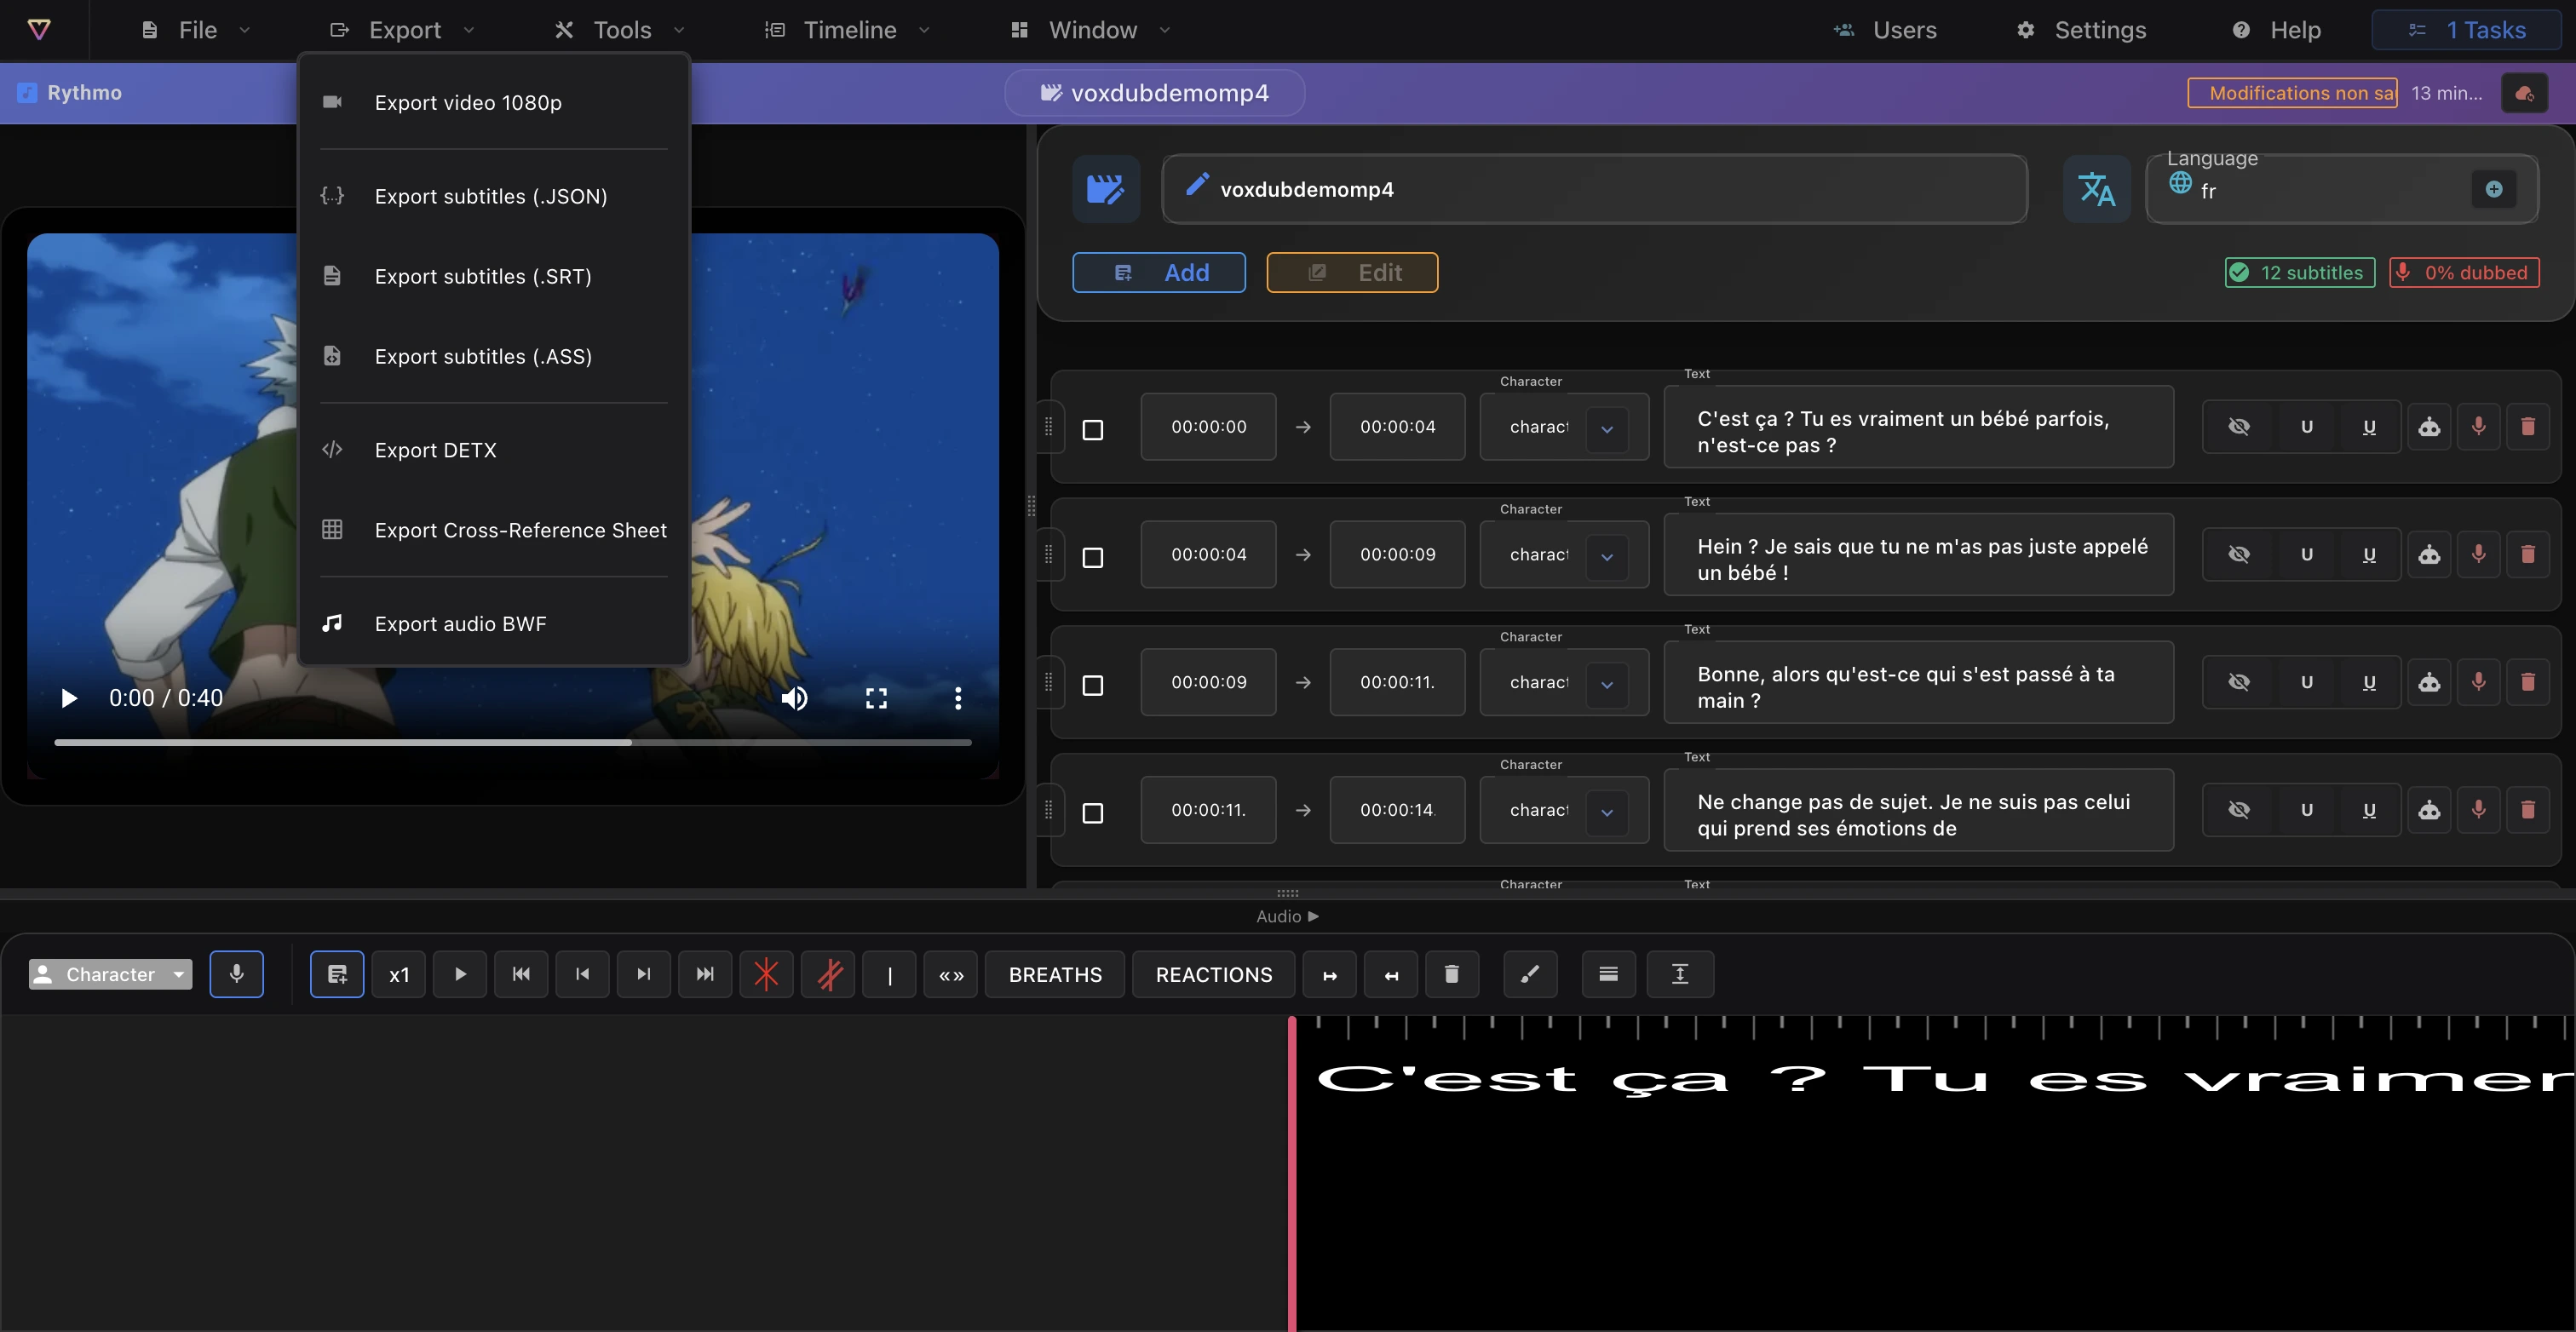
The video export runs server-side, in the background: you receive an email when the render is ready. See Background jobs and emails.
Save as you go
- Autosave and ⌘ S keep your project saved on the server. There is no version history, so export a subtitle or DETX file if you want a reloadable backup. See Autosave and undo.
Ready to dub your video?
Create an account and start your first project in minutes, right in your browser. 7-day free trial.
Try Voxdub for free